Tutorial: Watercolor Sketching

It’s almost Thanksgiving here in the states, which means puffy coat-and-mittens weather is upon us. Can you think of a better time to share a post about sketching outside? Woops!
In case you missed it, this is the follow up to my post about sketching in Lisbon. Ah it was so sunny and warm! Can we all just pretend we’re going to vacay in the mediterranean this winter? Of course there’s no reason you can’t sketch indoors, too. Just pull up a nice spot on Google Earth and have at it.
In this post, I’m going to share one of the many techniques I use while sketching on the go. I tend to switch things up based on the amount of time I have, but the technique I’m about to share is my go-to when I have no idea how much time I’ll have.

Aqueduto das Águas Livres
On the day in question, I had just hiked up several hills on the hunt for the aqueduct that survived the big earthquake in 1755. I lived in San Francisco for a decade and I know hills (and earthquakes), and I can tell you the hills in Lisbon are no joke.
I was worn out and looking for a place to relax and sketch until my husband was done with work. I settled on a section of the Carlos Lopes Pavillion in the Parque Eduardo VII because it had interesting architecture and…more importantly…a shaded bench!

A view from the top of the Parque Eduardo VII. You can see the top of the Carlos Lopes Pavillion sticking up on the far left.
The reason I use this technique when I don’t know how much time I’ll have is that it’s done in several discrete stages that you can build upon. Each stage is worthy of a sketchbook page in its own right, so if you suddenly have to dash before you’re done, you still have a pretty neat sketch to show for it.
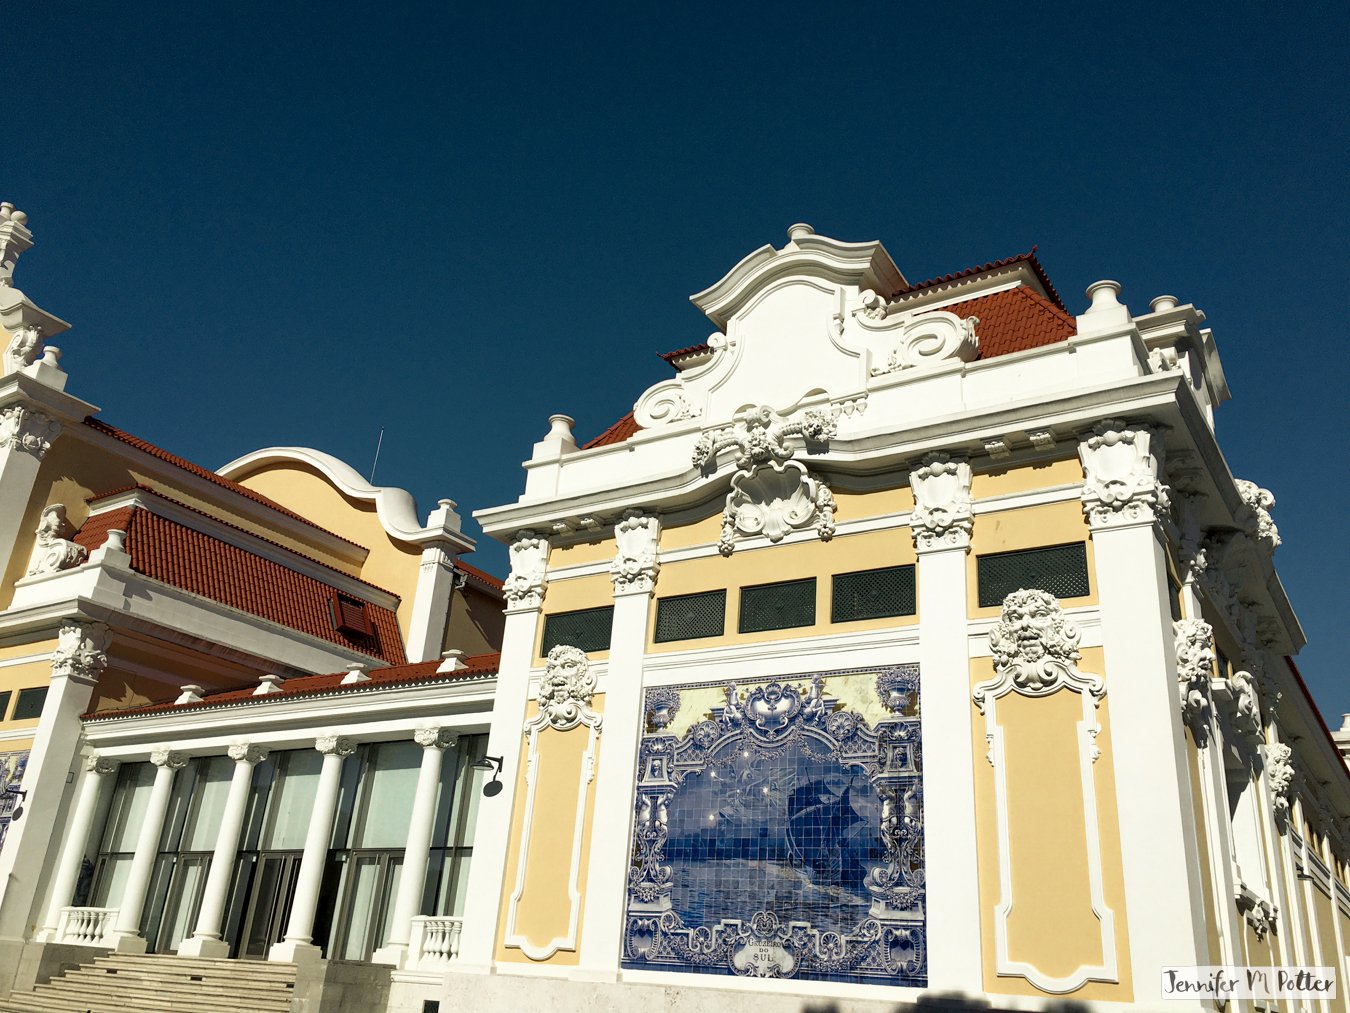
A tiled scene on the Carlos Lopes Pavillion
Step 1. Take a photo.
Just in case you do have to bolt and want to go back in and finish up later, it’s always nice to have a reference. I like to sketch in the moment, so I rarely go back in after the fact, but there’s a lot to be said for sketching from a photo when you have all the time in the world and don’t have to worry about changing light.

Step 2. Do a pencil sketch.
You can be as tight or as messy as you want here. I tend to be very slapdash because I’m impatient, and I know I’ll probably erase everything after the color is down. It’s really just a guide. I used my red pencil here but if you do graphite, or charcoal you can leave at this stage with a really nice pencil sketch.

Step 3: Lay in your shadows.
This may seem antithetical to using watercolor, since watercolor is by nature additive and we’re taught to build color from light to dark. But trust me, it’s fine. This is just a sketch, and mistakes are allowed, so go for it.
This step is excellent practice for “seeing” like an artist. Since you’re reading this blog, chances are you know what I’m talking about, but to give it a definition, I mean ignoring what you intuitively know in favor of what you actually sense in the moment. You’re no longer drawing the familiar forms of a solid building (or whatever your subject is), you’re drawing the ephemeral shapes of shadows. You have to study the shapes and their relationships to one another. It’s a slower, more deliberate step, and a chance to catch mistakes in the initial sketch. If you haven’t drawn from life much, it may feel weird to exercise the left side of your brain in this way, but it’s worth it to see all the shadows come together to define the form.

Step 4. Add sky.
Okay I know not all sketches will include sky, but you should have some form of negative space to take advantage of. Maybe it’s a wall, road, lake, or hedge. In any case, this is where the magic really happens, because now–instead of just the shadows defining your subject–the shadows AND the light are defining it. The whole sketch suddenly becomes twice as realized.
Honestly I’d be happy to leave it as it (with some erasing to tidy-up). But when there’s more time to kill, why not move on to…

Step 5. Add color.
Adding color is WAY easier using this process than if you were going straight in after (or even before) doing a pencil sketch. All of the light and shadow is taken care of; all of the visual decisions have been made. So all you have to do is put in a few mid-value washes. It’s a little like coloring in a coloring book.
So there you have it! I guess I could go in and add a step here about erasing, but that’s optional and it really depends on how sturdy your paper is.
I hope you get a chance to try this technique out soon. If you do, please let me know how it goes.
Be careful not to dip your brush into your cocoa! Or is that a margarita?
See my previous post to learn about my travel sketch kit.